
WordPress
Menus
The menu bar on your site can be modified as you see fit. To go to the menu editing page you can either
(from the dashboard) go to “Appearance” > “Menus”

(when viewing the site) rollover your site name and select Menus from the drop down menu
Depending on the theme you are using menus will appear in different place and behave slightly differently (some allow submenus, others have “magic menus”)
In the Menu editing page,
Create a new Menu

first give your new menu a name, then click “create menu”
On the left side of the menu editing page there is a list of pages (by default it is sorted by most recent)
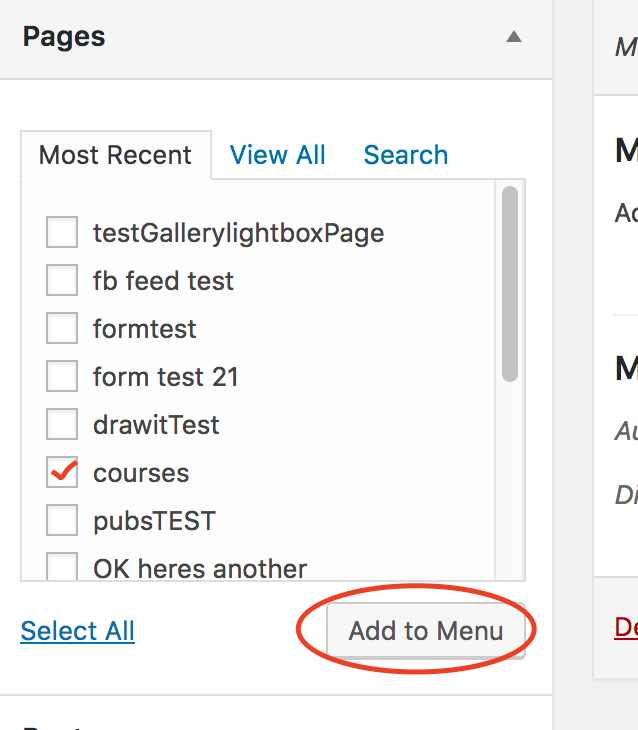
click the page(s) that you would like to appear in your menu and then click “Add to Menu”.
This page will be at the bottom of the list of pages that will appear on your menu.
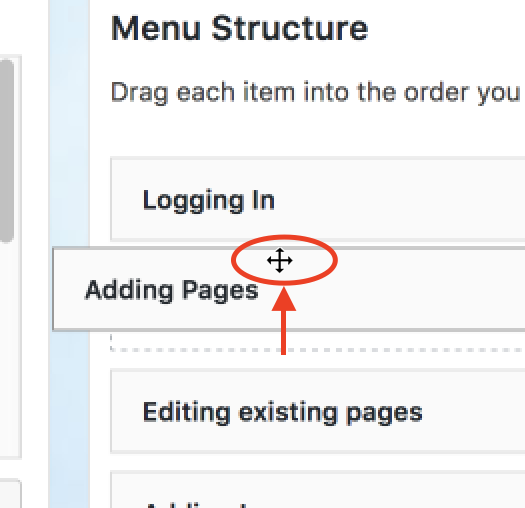
The order that the pages are listed in here corresponds to the order they will appear in the menu on your site.
You can move this page up by click-hold- dragging that page up to the place you would like it.
You can also make a page a submenu item by click-hold dragging it to the right:
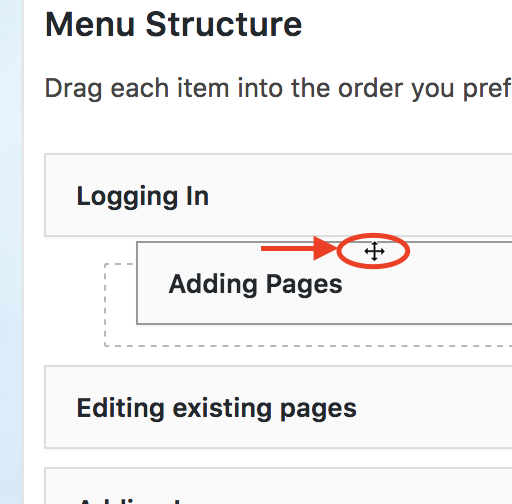
Click “Save Menu”
Different themes display menus differently. Some themes allow for multiple menus in multiple locations.
After making a menu, you will need to set the location of the menu in the theme.
Click on “Manage Locations”:

From the menu select field, select the name of menu that you made:
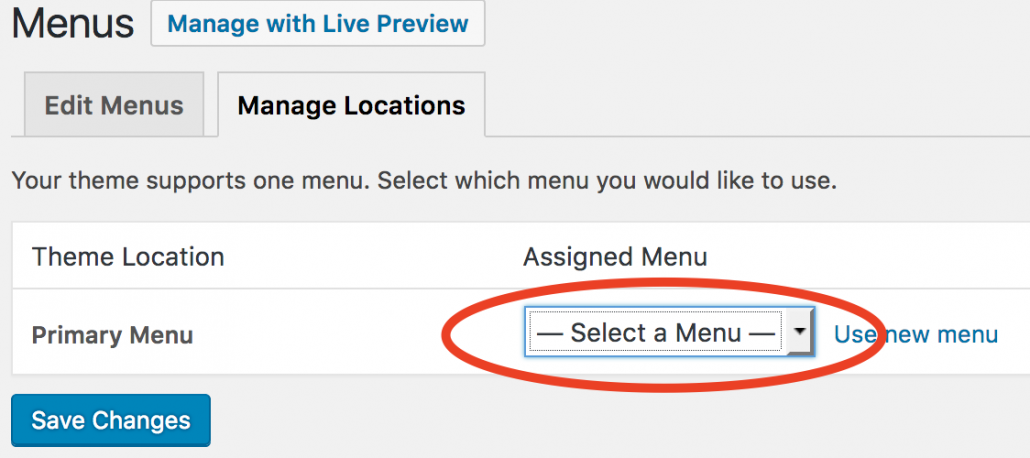
Click “Save Changes”